With Spring in full swing and the hope of warmer, sunnier days you may be dreaming of a garden deck to chill out on and soak up some much needed vitamin D.
Decking is a great way to transform your garden and create an outdoor living space that can be used for relaxing, dining and entertaining. It’s almost like an extra room, but outside, perfect for having family and friends over.
Building your own deck may not be as difficult as you might think and with our easy to follow steps you will be able to tackle the project head on.
Do not start your project before you have a plan in place. A plan will help ensure that you have all of the right resources, materials, and tools and should prevent any unwelcome surprises halfway through the job.
Work out your design and measure up. You will need to allow a space of between 5mm and 8mm between each deck board, giving the wood room to shrink and swell to coincide with the weather conditions. You should also take into consideration the width of the decking boards. Cutting them to fit width ways will affect the overall look of your deck.
You will need to make a firm decision about where to place your deck. You could have it set in a certain part of the garden or you could connect it to your house. Once you have made this decision stick with it. From here you will be able to determine the type of supports and footings that will be required. We would suggest putting your deck in a sunnier spot away from any particularly damp areas to prolong the life of your deck and avoid wood rot. If you are building your deck right off of your house there are things to consider such as setting your deck at a slight decline to drain rainwater away and a damp proof course where you will need to fasten it.
Here are some suggestions of some basic tools and materials that you will need to get your project underway. You may come across something additional that may be useful but remember preparation is definitely key.
1 - Measure and prepare the decking area. You will need to create a solid foundation for your decking, you could use paving stones or concrete which will help to prevent your decking from sinking into soft ground. Your foundations will need to be level otherwise you risk having to raise your frame.
2 - Create a simple box frame from timber, that is the exact length and width of the decking area you wish to build.
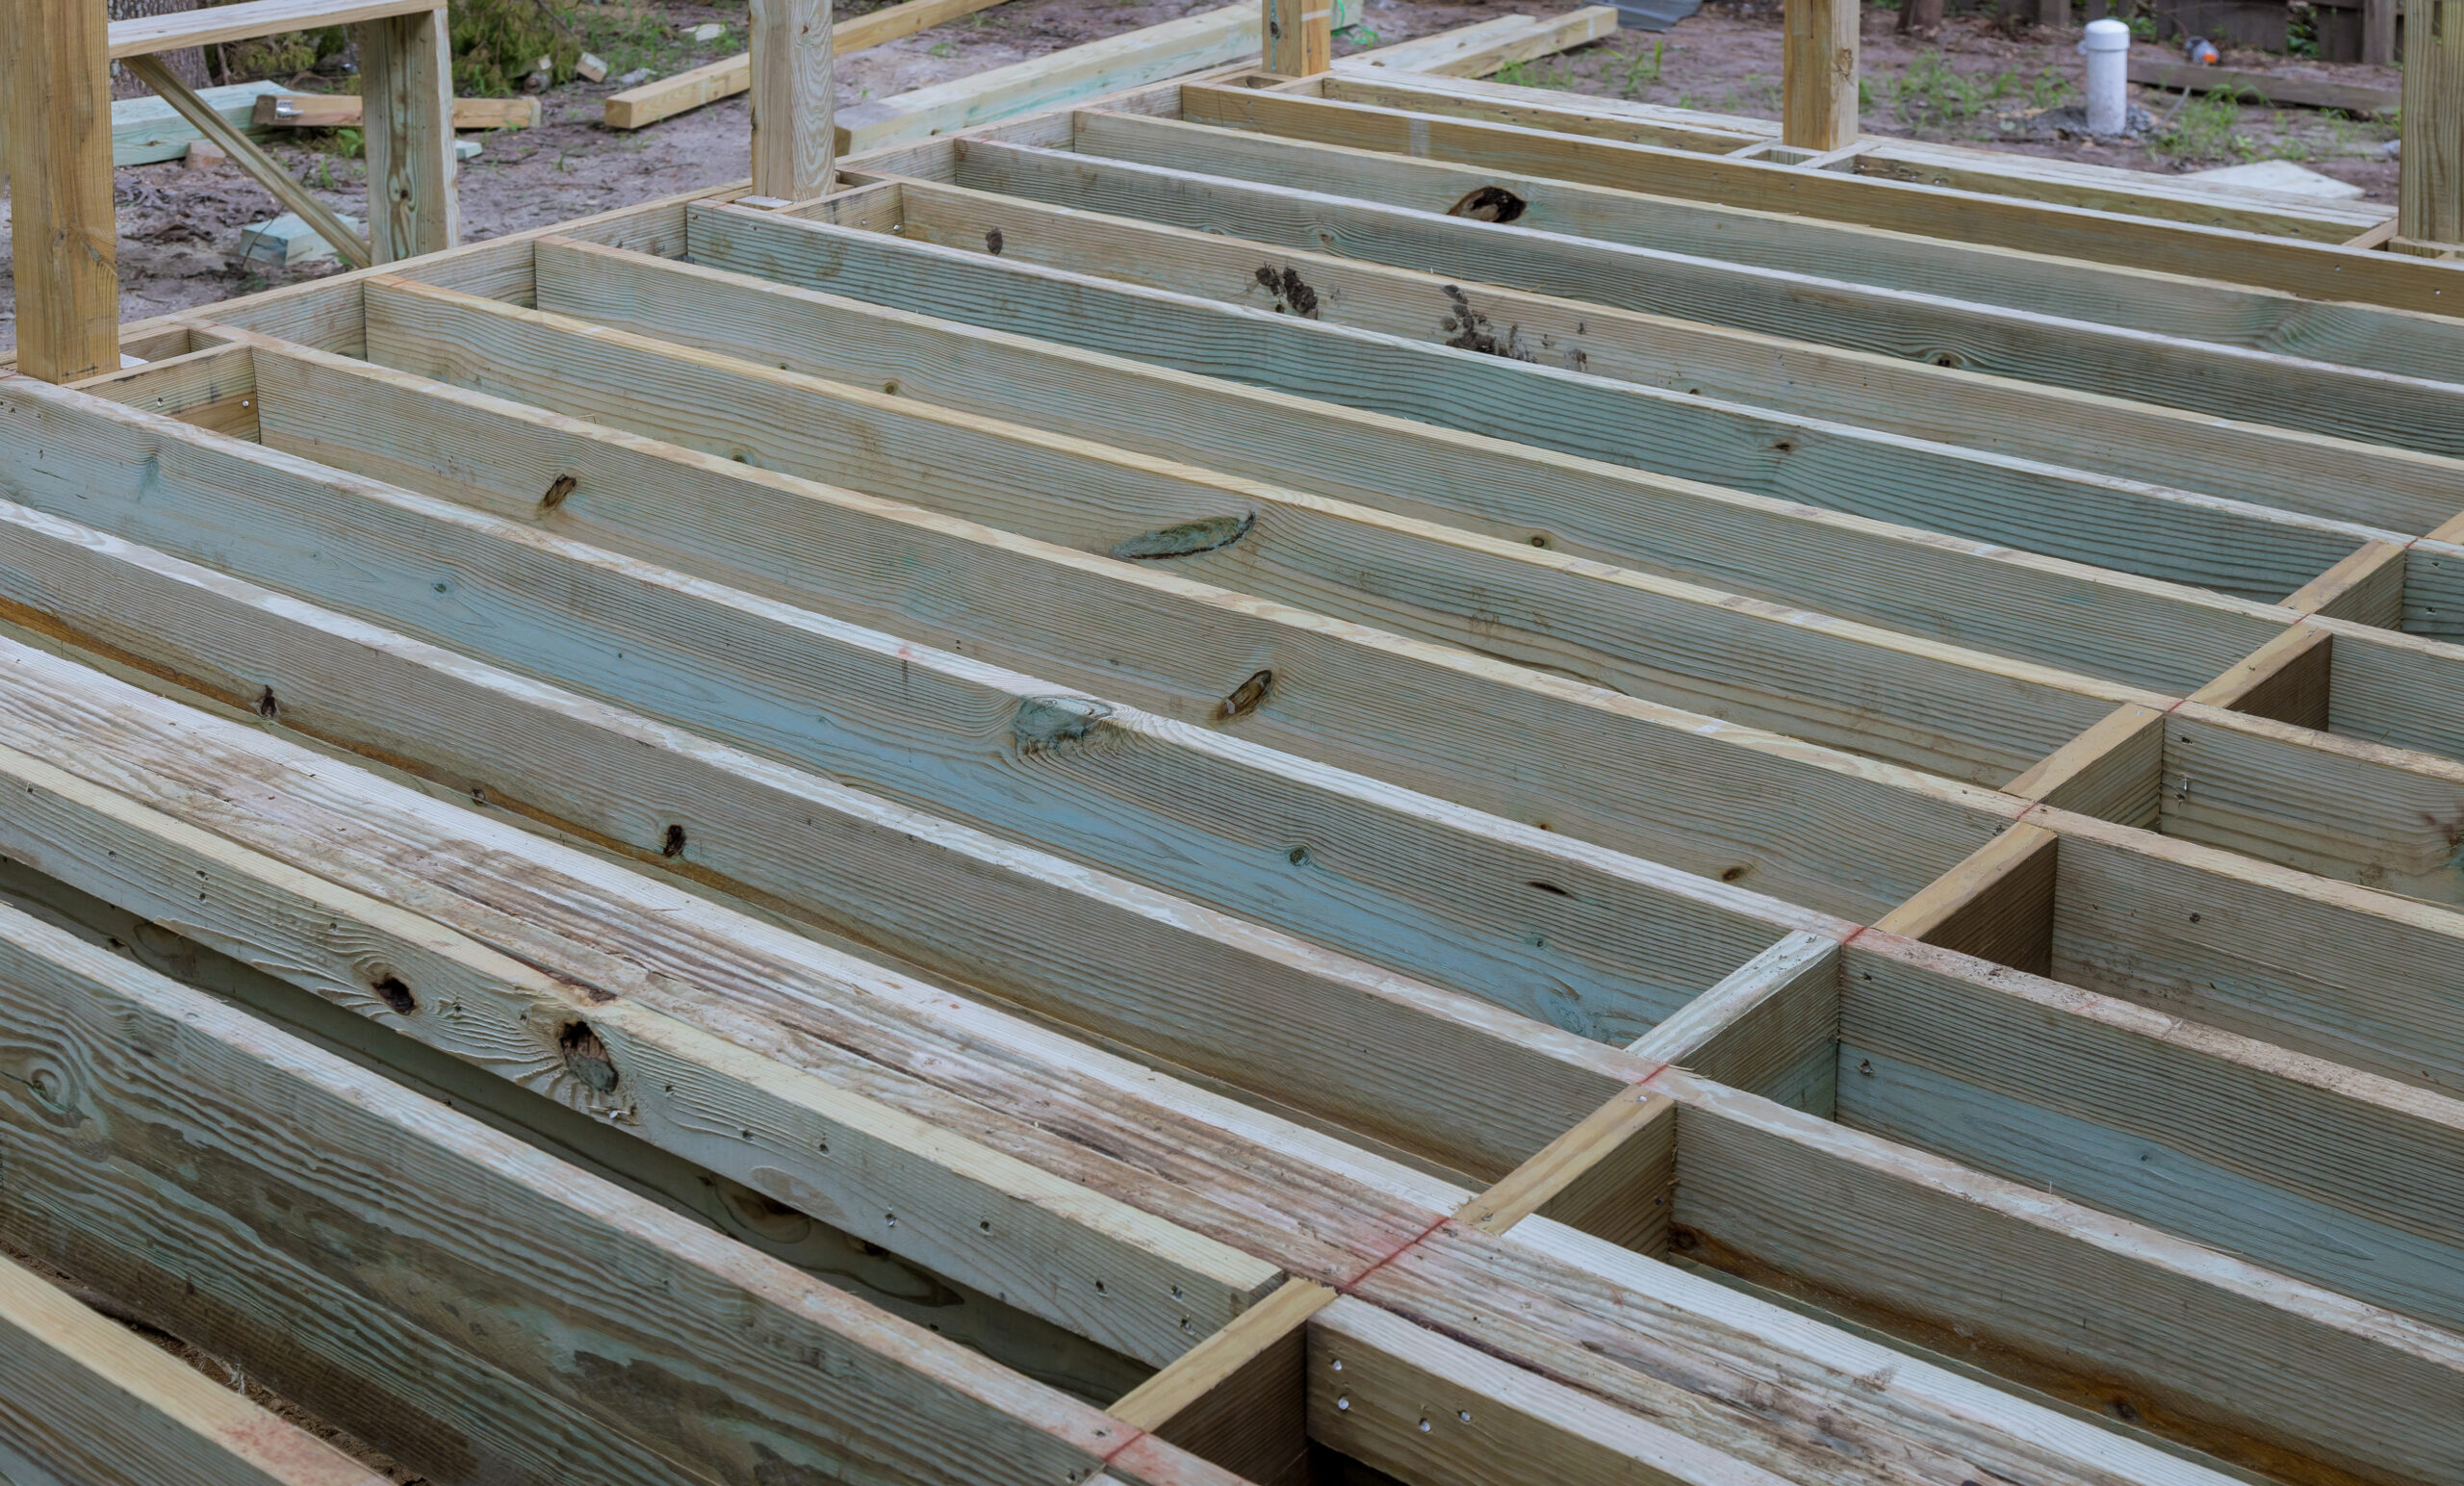
3 - Cut the joists and place them in your frame. They should be spaced evenly with a space of approximately 400mm between each one. If in doubt, it’s always better to have a smaller space than a larger one between the joists as it offers better support.
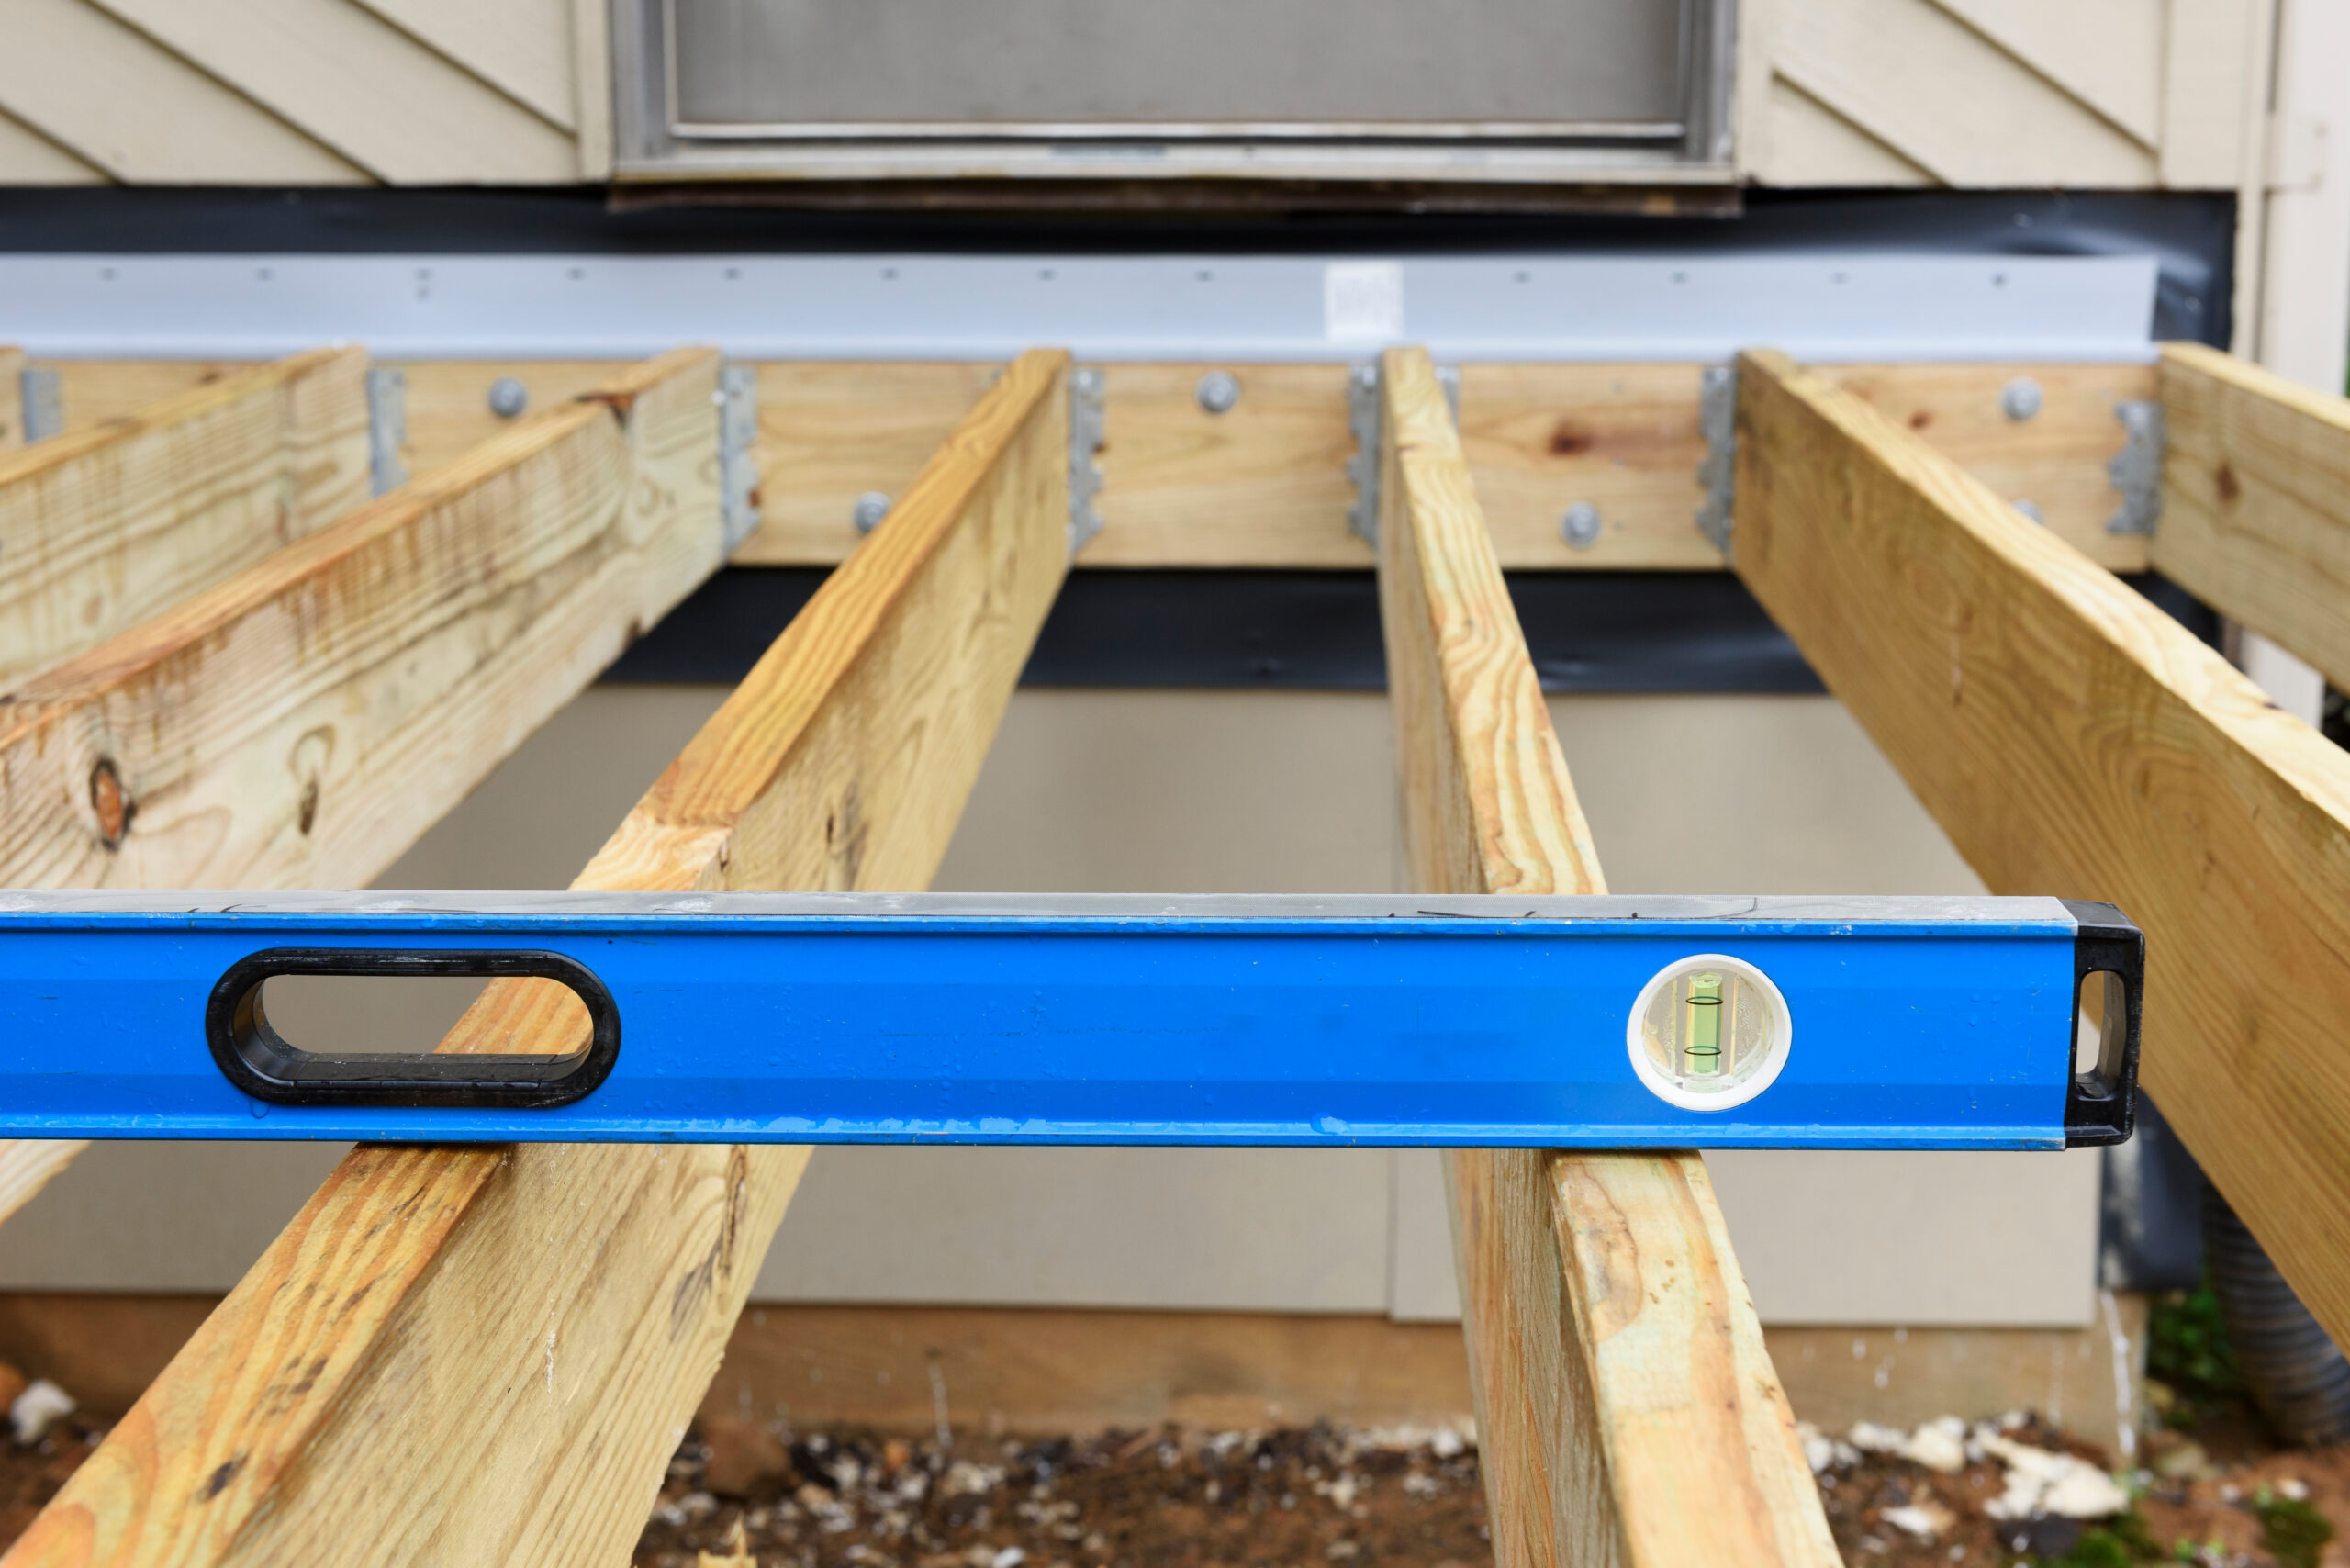
4 - Make sure that your frame is level. If it isn’t you will need to correct this by raising the lower areas.
5 - You will need to secure your frame to the ground using wooden spikes or posts. These should fasten to the corners of your frame and dig into the ground to create a solid and secure base for your decking.
6 - Install noggins between the joists for additional support. Noggins are shorter pieces of wood that join the joists together, similar to timber wall framing.
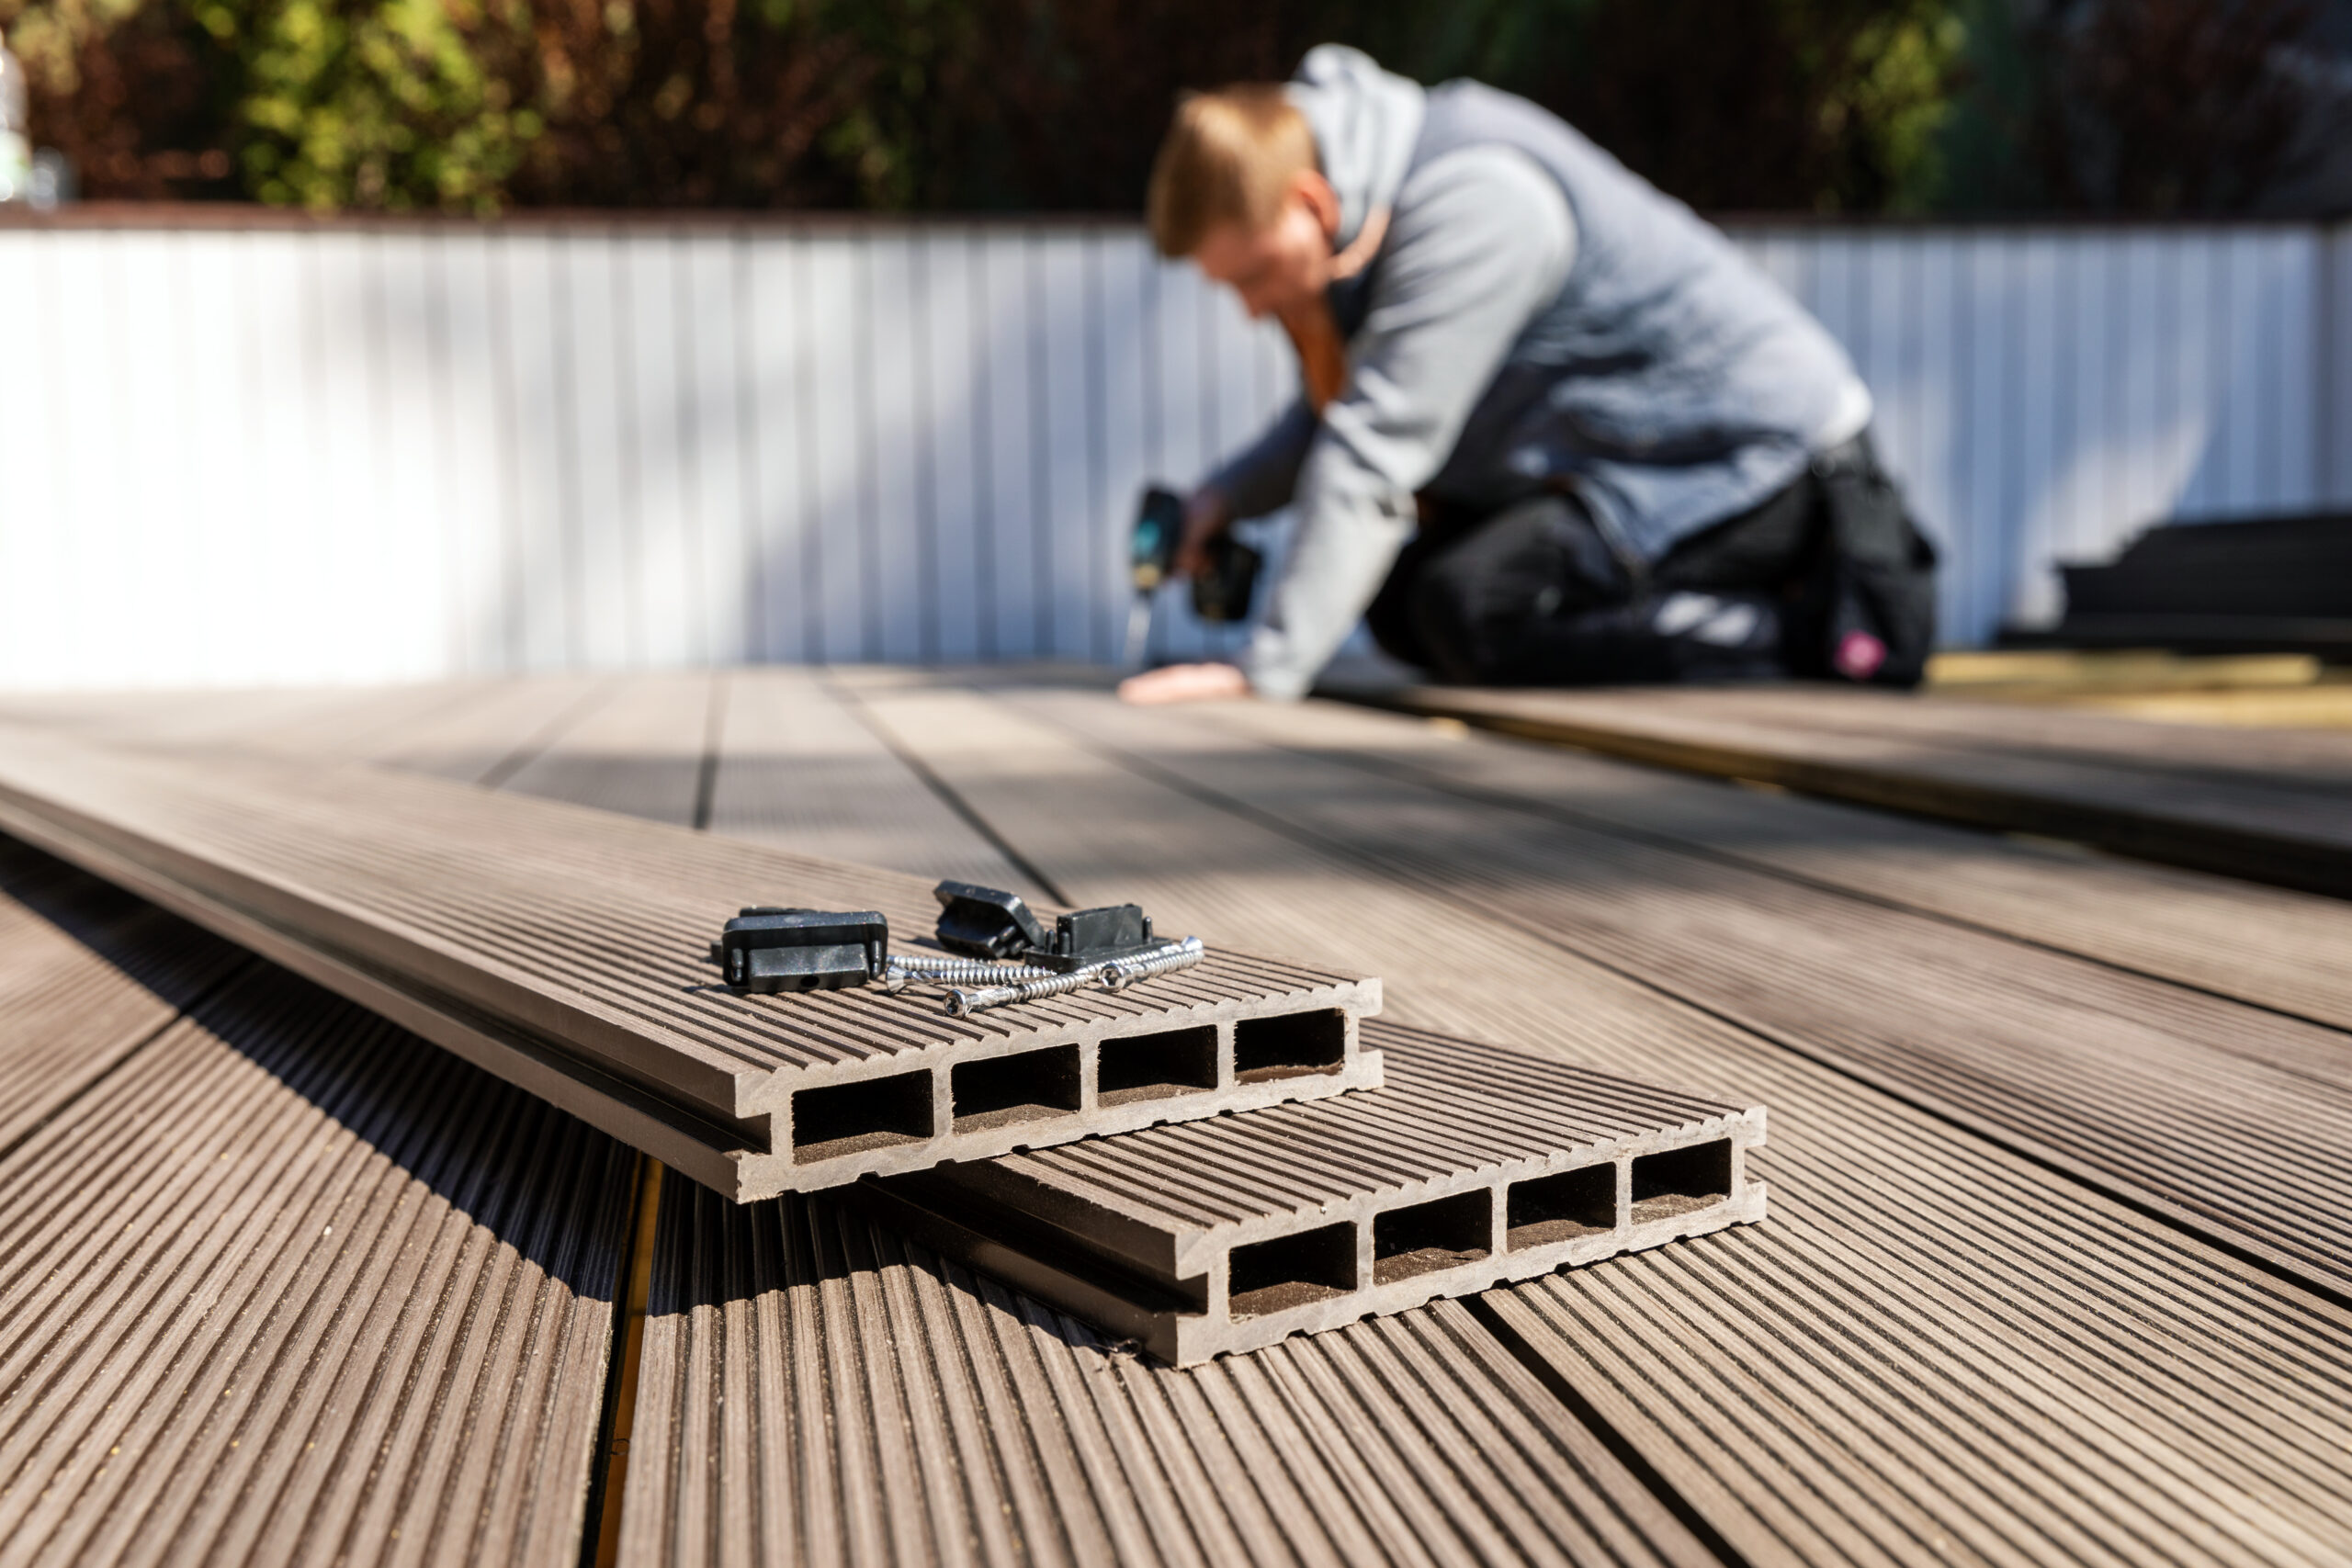
7 - Starting at one side, fasten the first decking board to the frame using decking screws. It’s a good idea to leave a slight overhang to encourage efficient water runoff.
8 - Work your way along fixing each decking board next to the last, leaving an even gap between each one as mentioned earlier, to allow for the wood to adapt to the changing elements.

9 - Once all of your decking boards have been fastened securely, you can sand the edges for a uniform and finished look.
10 - Now you can paint, stain or varnish your decking. This really finishes off your project but also provides protection from the weather. The timber will need to be treated properly to ensure that it lasts for many years.

We hope that you have found this guide to laying decking easy to follow and now all you need to do is work out your design and get building. Once your deck is built and sealed, you can furnish it with your chosen outdoor seating and add some lights and decorations to provide the finishing touches. It won’t be long before you will be able to enjoy your new outdoor space. For all of your decking materials and supplies head on over to the KPT Timber site.
Sources:
https://www.bidvine.com/a/how-to-lay-decking