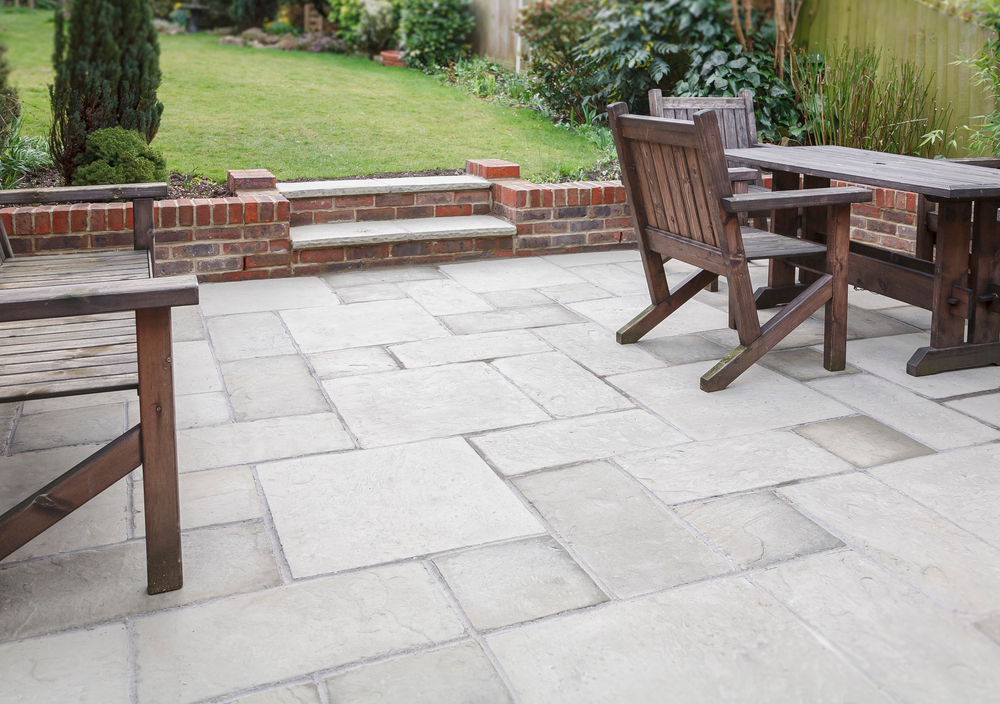
Adding a patio to your garden is a great way to create a space that is suitable for a multitude of uses. It’s a practical solution that can act as a transitional area between your house and the garden plus it’s low maintenance and durable. Patios are perfect for outdoor dining, barbecuing, entertaining and generally relaxing on those long summer evenings.
Laying a patio involves some relatively simple steps however they can take time and should be carefully planned and with the right preparation, it will become a much easier process. Part one in this series features the first steps you will need to lay your own patio paving.
Identify where you’d like your patio to go. Once you know where you want to put it, you’ll need to draw up a plan to scale. Be sure to write down all of the relevant measurements and include any permanent fixtures such as boundaries, fences and buildings. You’ll also need to decide whether you want straight rows of paving slabs that are all identical or a pattern using different sizes and colours.
Once you have these initial plans in place, it’s a good idea to ‘dry lay’ the slabs out how you would like them. This will help you to visualise the finished project and check for any errors in your measurements. Do make sure you take into account the joint size between the slabs and taking a photo for future reference could be useful too. Another important factor to take into consideration is if your patio will be laid directly next to your house, if so you will need to make sure it sits 150mm below the damp proofing of the house.

Whilst the process of laying a patio is generally quite simple, there are some safety implications that will need to be carefully considered:

Firstly you’ll need to mark out the space in which your new patio will sit. You’ll need to calculate the fall - this is the slight slope that your patio will need to have in order to drain away surface water efficiently. The gradient will be very gradual and therefore should not affect the level of your patio.
Step 1
Mark out the sub-base area using wooden pegs and a builders line. It’s best to add 5-10cm to every edge measurement as this will make the sub-base a little bigger, offering a more secure foundation.
Place a peg in each corner and use a builders line between each one to provide the straight edges. Check the corners are square using a builders square. One final check, measure the diagonals to ensure they are the same. If they aren’t then you’ll need to check your side measurements and adjust until the diagonals match.
Step 2
Once your above measurements are accurate, you can calculate the fall for your patio which will depend on the type of paving you are using.
Calculating the fall:
Multiply the required fall (e.g. 12.5 or 16mm) by the length of the sloping side of the paved area in metres (m). This will tell you the total difference required between the highest and lowest points of the patio. If building next to a house or other building, the fall should slope away from the walls.
Step 3
Remove any turf by using a lawn edger to cut straight edged strips and lift it out of the way using a spade. It’s a good idea to keep hold of the turf in case you need to replace any and fill any gaps that may become apparent between your new paved area and your lawn.
Step 4
You’ll need to calculate the depth to know how deep you will need to dig. This can vary depending on how you choose to construct your sub-base and the thickness of your paving slabs. For example:
Remember to include the necessary fall in your calculations and dig to the correct depth. Peg out the final surface level of yoru sub-base using wooden pegs. Measure the depth of the sub-base (100mm) from the top of the peg landmark a line clearly. Place marked pegs at 1m intervals along the highest side of yoru sub-base and hammer them in until the marked line is level with the excavated ground.
Step 5
Make sure all of the pegs are level with each other using a long piece of wood as a straight edge and adjust if necessary.
Hammer in the next row of wooden pegs in line with the first one metre apart. Repeat until all of the pegs are in place.

Setting the fall for the sub-base will ensure that the gradual slope will be present when you lay your paving slabs. Create a levelling shim using a small strip of wood with the required drop height of the patio per metre. Nail the shim to the underside of one end of a 1m-long straightedge.
Lay the straightedge to rest between the first peg from the first row and the first peg from the second row. The shim should face down into the top of the second row peg. Lay a long spirit level on top of the straight edge. The reading should show that the second peg is higher than the first one.
You will now need to carefully hammer the second peg until you get a level, reading on the spirit level when the straightedge, shim and spirit level are laid on top again. A level reading indicates that the peg has been hammered into the ground at the correct depth required for the fall. You’ll need to adjust the ground as necessary until each peg is the correct depth - repeat these steps for all pegs in the second row and all subsequent rows.
Now that you have prepared and dug your sub-base to the correct size and depth, the next step is to lay it. You’ll want to fill your sub-base with hardcore so that it sits just above the top of the wooden pegs.
Next, you’ll need to compact it with a plate compactor. Ensure that the surface is level with th top of the marker pegs and add more hardcore and compact again as necessary to reach the correct level.
Now, spread a thin layer of sharp sand or all-in ballast over your compacted hardcore and rake it until level. This is known as a blinding coat. Once this has been completed you can remove the four corner pegs and lines but the height pegs will remain buried.
In part 2 of ‘A Step By Step Guide To Laying A Patio’ we focus on laying slabs, pointing and the aftercare of your new patio. This will be published live on our website in June, so make sure you come back to continue reading.
Sources:
https://www.diy.com/ideas-advice/how-to-lay-a-patio/PROD_npcart_100439.art
https://www.wickes.co.uk/how-to-guides/garden-landscaping/lay-a-patio