A Simple Guide To Fence Repairs - Get Ready For Winter
A Simple Guide To Fence Repairs - Get Ready For Winter
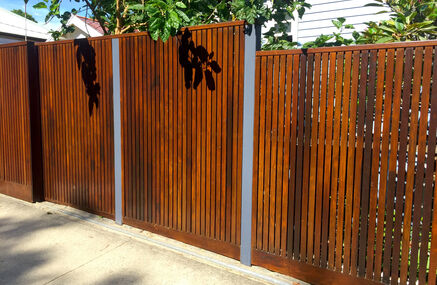
The weather and age can really impact the life of your fence and fence panels. Rot, damage and even mould can develop over time and are extremely common. If you have visibly broken or rotting fence panelsor posts, then the solution is either repair or replace.
Here’s a quick step by step guide to help you carry out this essential maintenance:
Repair Or Replace?
The first step is to determine the problem in order to reach your required goal. Fences that are a bit unsteady or are slightly rotten can easily be fixed. The wood can be cleaned and treated or reinforced with a repair spur or arris rails. For more severe damage, it is recommended that removing and replacing panels and posts is carried out as soon as possible to prevent the rest of the fence from being compromised.
Removing a Fence Panel
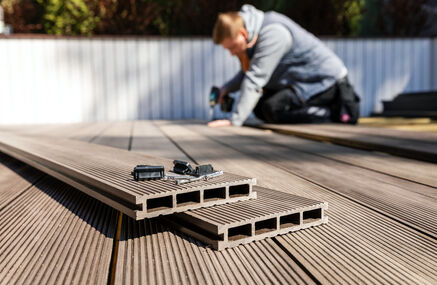
With a little time and patience and a bit of careful manoeuvring, replacing an old, broken part of your fence can be quite easy. Identify the panel that is broken or wobbly and needs replacing and then follow these steps:
Use a crowbar to lever back the broken panel’s side frames until you see the nails holding the panel and posts together.
Saw the nails off or pull them out with a hammer on both sides to detach the panel completely.
Once the panel has been removed, assess whether there’s been any damage to your fence post or posts. Then, you can continue by repairing or replacing your damaged post.
Replacing A Fence Post
Make sure that thefence panels on both sides of the post are detached and then:
Use a shovel to remove earth and concrete and dig out the posts base.
Carefully lift post out. You may need to wiggle it to loosen it as it comes out.
Dig out a post hole for the new post. This should be at least 450mm for s standard sized fence post.
Use some wooden supports as props to help steady your new post when placing it into the ground. It is important that the post is straight and even, use a spirit level to check.
To ensure your posts are placed evenly, use a line between the top and bottom of the posts. The reason to do this is to visualise more clearly where you’re placing your fence panels.
Repeat for each post that needs replacing.
Replacing A Panel After Repairs
You can use nails or fence clips to secure new panels to your fence posts. Fence clips can be simply attached to the sides of your posts using screws. If you using nails, follow these steps:
Use a measuring tape to evenly mark out with a pencil where your nails will go on the panel. Use a drill to create pilot holes where you’ve marked your panel.
As before, even placement is essential. Check regularly how horizontal your panels are by placing a spirit level at the top. If level, hammer your nail into your first pilot hole. Repeat until all nails have been hammered in.
Once you’ve secured your panels, it’s time to pour some concrete into your fence post holes. Mix your concrete according to the manufacturer’s instructions. After pouring the concrete, smoothen out the surface and wait for it to dry.
We hope this simple guide will help you through the process of repairing and replacing your unstable or rotten fence. It really is straightforward and replacing parts can help to keep costs down. It’s always a good idea to give your fence a treatment to help increase its longevity too.