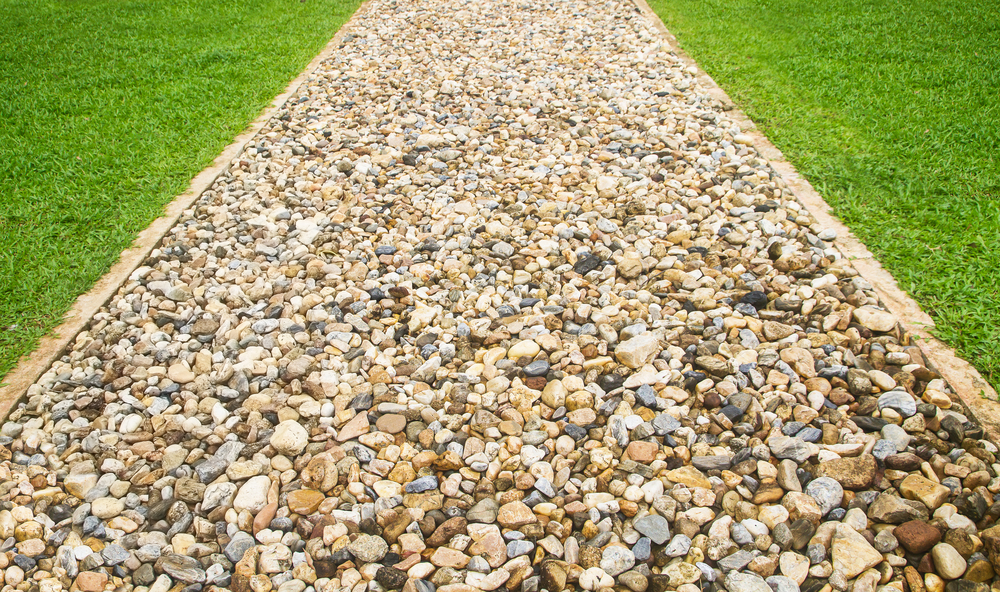
Maintaining a flawless garden entails tackling a range of hurdles, encompassing physical, financial and creative aspects. The aspiration for neat and appealing garden landscapes, coupled with the requirement for low upkeep and expenses, has driven the growing favour for gravel surfaces. Gravel pathways emerge as a sophisticated, adaptable and exceedingly resilient choice for your garden and demand minimal maintenance when laid correctly. This simple guide will demonstrate the steps to help you to lay a budget-friendly and enduring gravel pathway for your garden, without the need for contractors.
A gravel path will become a lasting feature, so it’s vital to plan it carefully before you start digging. Think about the location, where it will start and end, the width you require and how much you are willing to spend. Take into consideration the longer or wider your path, the more gravel and materials you will need, so it’s important to calculate exactly how much you will need.
You could map out the route of your path using string or a marking paint, sometimes the most obvious route may not be the best, so this will give you the opportunity to test it out before you go ahead.
You will also need to investigate the base surface to ensure it is suitable for a gravel path. Steep inclines, for example, should be avoided.
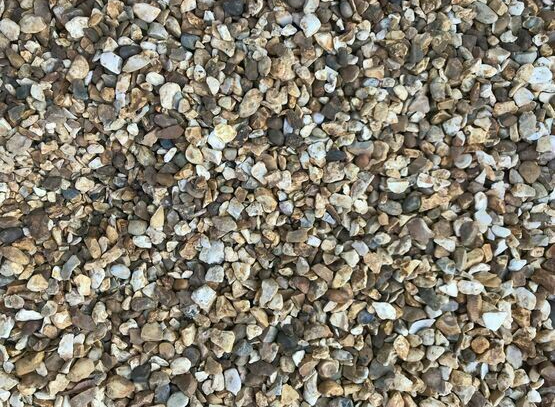
There is a great choice of aggregates and gravel readily available, each offering their own unique properties and style. Some are more suited to some applications compared to others.
If your route winds through uneven terrain, consider using 20mm slate chippings or Golden Flint 10mm chippings. These options are resilient, especially during rainy weather. Typically, gravel up to 16mm works well, while 20mm slate can provide a smooth walking surface. Be adventurous in your selection; while there's an ideal aggregate for every path, you might stumble upon a unique choice that suits your style perfectly.
The next step is to mark out the route of your path. We mentioned this earlier and recommend using rope or string, line-marking paint or even your garden hose. Once you are satisfied with your planned path, then you can start digging.
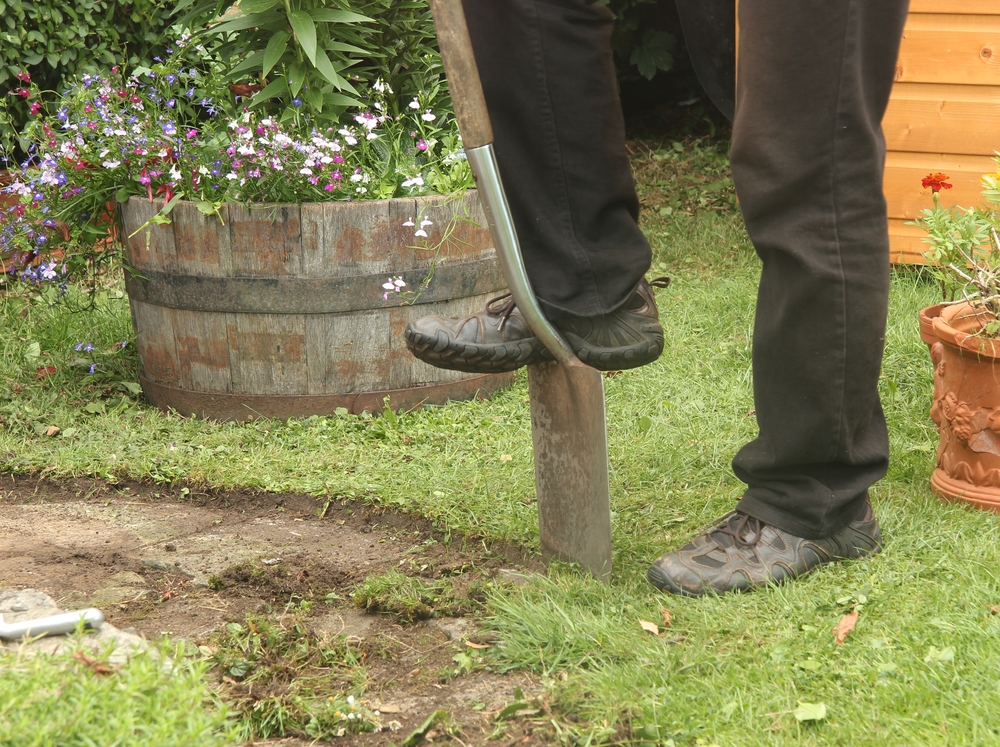
Remove the topsoil within your marked area to start forming a trench. You’ll need to dig down approximately 4 inches and we would advise using a square edge spade to ensure the edges of your trench are straight and even. Once complete, smooth the bottom of the trench with a rake and then flatten with a tamper or other flattening tools.
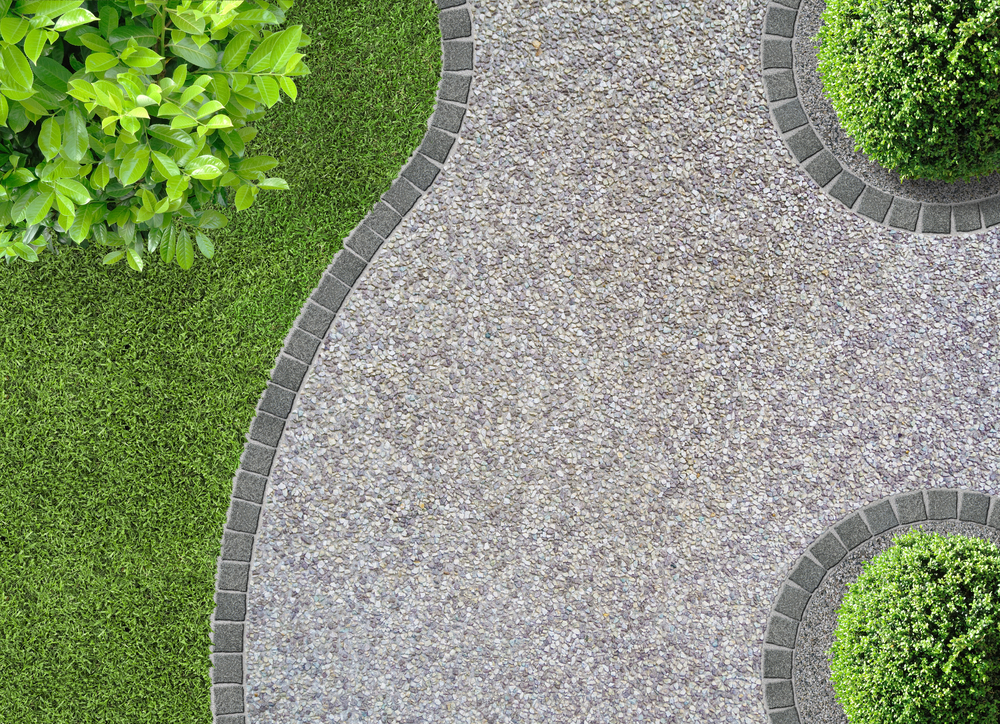
After your trench is nicely compacted, it's time to consider a border to maintain the gravel's tidy appearance. You have various options available, such as metal edging, bricks, wood, or stone. Ensure the borders extend along both sides of the path. Take a look at the example image provided above; it showcases how contrasting coloured bricks can create an appealing and durable border.
The next essential yet straightforward task involves lining the smooth and compacted soil at the trench's base with crushed stones. Aim for a layer of approximately 10 cm of hardcore, ensuring it's evenly spread across the garden path area. After applying the crushed stone, it's crucial to compact it thoroughly. You can achieve this with tools like a sledgehammer or plate compactor, which are readily available for hire at your local DIY store.
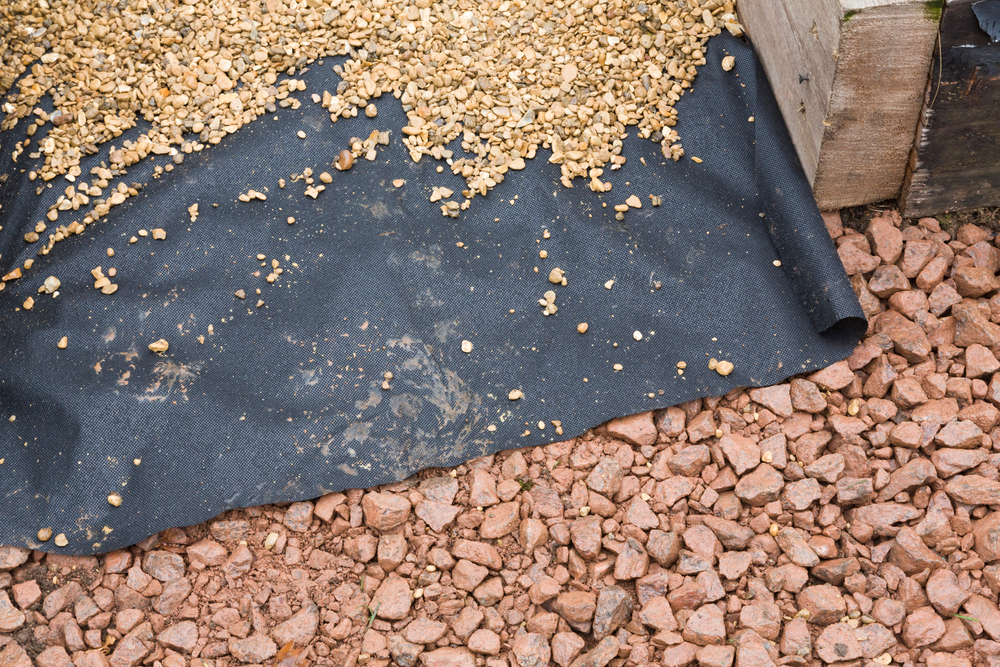
Adding a permeable membrane between the trench's base and the top gravel layer is a smart move. This membrane prevents gravel from mixing with the base layer or the soil below. It's sturdy, permeable, and effectively blocks weed growth in your gravel pathway.
With the weed prevention membrane in place, it's time to complete the job by spreading the gravel evenly on top. Aim for a depth of 2-3cm for consistent coverage. Use a shovel to distribute the gravel over the membrane and then smooth it out with a garden rake.
Gravel paths are a great low maintenance solution, but to keep it in good condition for many years, follow these maintenance tips:
We hope you have found this guide easy to follow. If you are still looking for your gravel of choice, check out our bagged aggregates here.
Sources:
https://www.drainagesuperstore.co.uk/help-and-advice/project-guides/landscaping-outdoors/how-to-lay-a-gravel-path/
https://decorativeaggregates.com/blog/simple-guide-to-laying-a-gravel-garden-path